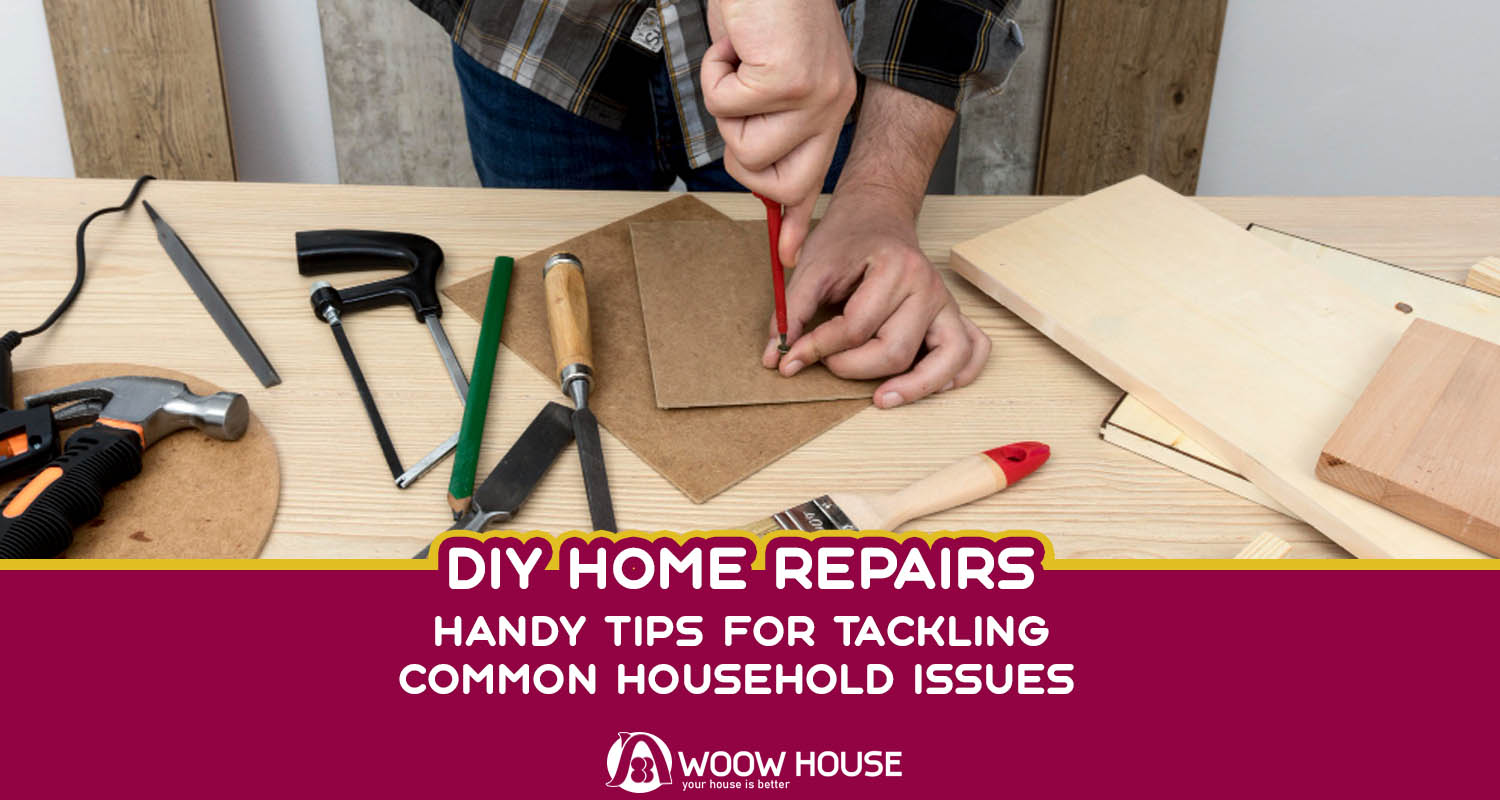
Maintaining a home often involves dealing with various repairs and maintenance tasks. While some issues may require professional help, many common household problems can be tackled with a bit of DIY know-how. Learning how to handle basic repairs not only saves money but also empowers homeowners to take control of their living space. In this article, we’ll explore a range of DIY home repair tips and techniques to help you address common household issues efficiently and effectively.
Fixing Leaky Faucets:
A dripping faucet not only wastes water but can also be an annoyance. Fortunately, fixing a leaky faucet is a relatively simple DIY task. Start by turning off the water supply to the faucet. Then, disassemble the faucet and inspect the components for worn washers or O-rings. Replace any damaged parts and reassemble the faucet. Finally, turn the water supply back on and test the faucet to ensure the leak has been resolved.
Patching Holes in Walls:
Small holes and cracks in walls are inevitable in any home. Fortunately, patching these imperfections is a straightforward DIY repair. Begin by cleaning the area around the hole and removing any loose debris. Next, fill the hole with spackling compound or lightweight joint compound using a putty knife. Smooth the compound evenly over the surface and allow it to dry completely. Once dry, sand the patched area smooth and apply a coat of paint to match the surrounding wall.
Unclogging Drains:
Clogged drains are a common household nuisance that can often be resolved without the need for professional plumbing services. Start by using a plunger to try to dislodge the clog. If that doesn’t work, try using a drain snake or auger to break up and remove the blockage. Alternatively, you can create a homemade drain cleaner using a mixture of baking soda and vinegar. Pour the mixture down the drain, let it sit for a few hours, then flush with hot water to clear the clog.
Repairing a Running Toilet:
A running toilet can waste a significant amount of water and lead to higher water bills. Fortunately, repairing a running toilet is a relatively simple DIY task. Start by removing the tank lid and inspecting the flapper valve and flush handle for any signs of wear or damage. Replace any worn or damaged parts as needed. If the problem persists, adjust the water level in the tank or replace the fill valve to restore proper function to the toilet.
Patching a Damaged Window Screen:
Damaged window screens not only detract from the appearance of your home but can also let insects and debris into your living space. Fortunately, repairing a damaged window screen is a quick and easy DIY fix. Start by removing the screen from the window frame and laying it flat on a work surface. Use a patching kit or replacement screen material to cover any holes or tears in the screen. Secure the patch in place using adhesive or a patching tool, then reinstall the screen in the window frame.
Tightening Loose Cabinet Hardware:
Loose cabinet hardware can be both unsightly and inconvenient. Fortunately, tightening loose cabinet hardware is a simple DIY repair that requires only basic tools. Start by removing the screw or bolts holding the hardware in place. Use a screwdriver or wrench to tighten the screw or bolts securely, then reattach the hardware to the cabinet. Repeat this process for any other loose hardware throughout your home to keep cabinets and drawers functioning smoothly.
Sealing Leaky Windows and Doors:
Leaky windows and doors can lead to drafts, energy loss, and higher utility bills. Fortunately, sealing leaks around windows and doors is a straightforward DIY task that can improve energy efficiency and comfort in your home. Start by inspecting the seals and weatherstripping around windows and doors for signs of wear or damage. Replace any worn or damaged seals with new weatherstripping or caulking to create a tight seal and prevent air leaks. Additionally, consider installing draft stoppers or door sweeps to further minimize drafts and energy loss.
Replacing a Broken Light Switch or Outlet:
Broken light switches and outlets are common household issues that can be easily repaired with basic tools and materials. Start by turning off the power to the affected switch or outlet at the circuit breaker. Remove the cover plate and unscrew the mounting screws holding the switch or outlet in place. Carefully disconnect the wires from the terminals and remove the old switch or outlet. Install a new switch or outlet, reconnecting the wires to the appropriate terminals, and secure it in place with mounting screws.
Resealing Bathtub and Shower Caulk:
Over time, the caulk around bathtubs and showers can become cracked, discolored, and moldy. Fortunately, resealing bathtub and shower caulk is a simple DIY repair that can improve the appearance and functionality of your bathroom. Start by removing the old caulk using a caulk removal tool or utility knife. Clean the area thoroughly with a mildew remover or bleach solution to kill any mold or mildew. Once the area is dry, apply a new bead of silicone caulk, smoothing it evenly with a caulk finishing tool or damp finger. Allow the caulk to dry completely before using the bathtub or shower.
Maintaining Gutters and Downspouts:
Clogged gutters and downspouts can lead to water damage, roof leaks, and foundation issues. Fortunately, maintaining gutters and downspouts is a relatively simple DIY task that can prevent these problems. Start by clearing debris such as leaves, twigs, and dirt from the gutters and downspouts using a ladder and gloves. Use a garden hose or plumbing snake to flush out any remaining debris and ensure proper water flow. Additionally, inspect the gutters and downspouts for signs of damage or corrosion, repairing or replacing any damaged sections as needed.